
This would seem to be the year of the Hornbeam for me, they seem to be everywhere I look so far.
Their leaves are fabulous as they unfurl from writhing wood, as are their catkins and later their winged seeds.
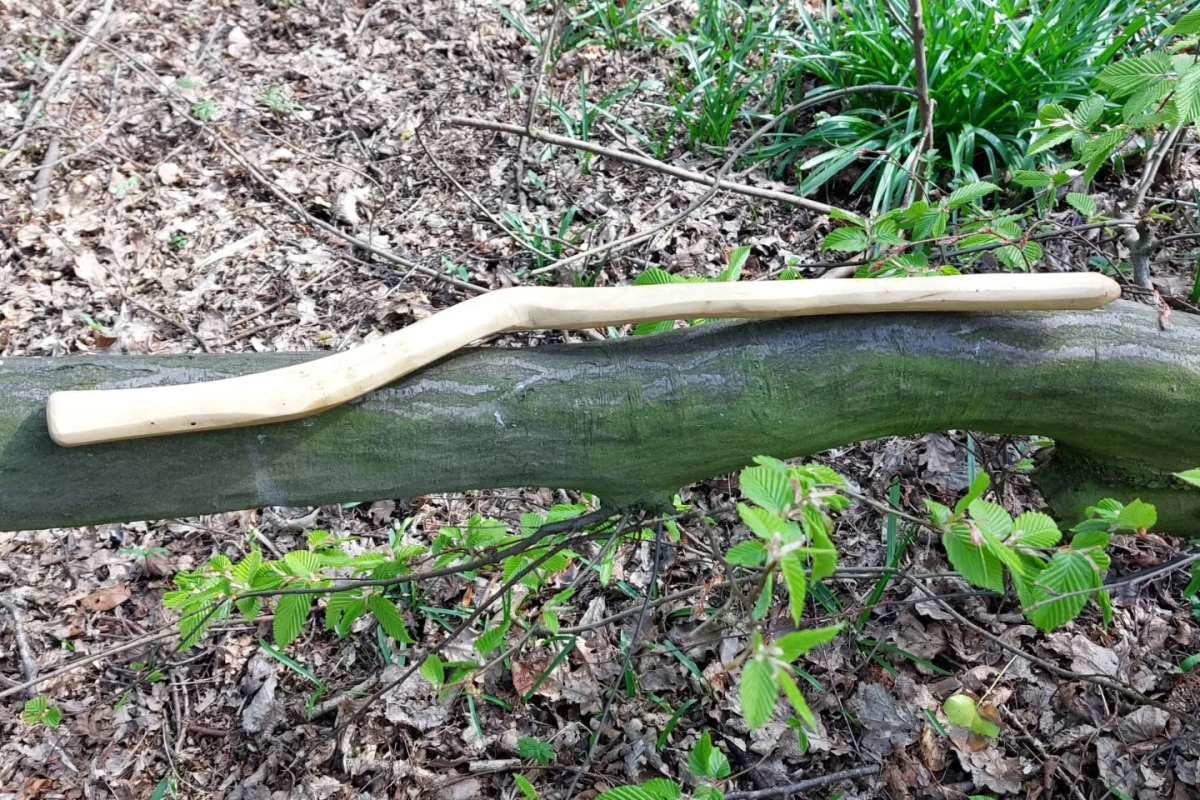
I discovered a huge one that had surrendered it vertical status to the late winter winds, but which was throwing out buds with merry abandon. A few of it’s branches had shattered during the fall as they took the weight and momentum of the large boughs and trunk. One such branch had come off in a zig zagged shape and just screamed to be made in to something.
Over the years I have seen numerous museum and TV examples of throwing sticks in a range of shapes and styles. Commonly you’d find heavy ended straight lengths, ball ended sticks, s shaped lengths and curved sticks (like the boomerangs).

The basic principle of the stone age, and before, tool was that it could be thrown from a distance away from the target and, upon impact, either kill or stun. When thrown in to a reed bed full of roosting birds, or at those in flight, or distracted rabbits, squirrels and other small game, you’d be more easily able to secure some nourishing meat than without a stick. Over the course of history these sticks often became dual purpose and refined from fallen branches in to aerodynamic devices that double up as clubs (to finish off a stunned creature or end a human on human scrap), and in some cases digging sticks for extracting starch rich tubers.
In the seeing of these simple but often cleverly adapted tools I caught a bit of inspiration and have decided to make a series of these sticks to see what I can learn.
As well as a S shaped stick I plan on making a lead ended club (1800s poacher style), a knobbed stick (similar to a shillelagh, but more throw friendly), a rounded knobbed club, a heavy ended straight stick and possibly a few of varying curvature too.
This particular blog post deals with an ‘s’ shaped stick. In examples I’ve seen they tend to be closer to uneven ended z shaped, although some are fully curved s shapes.
To make this I took the zigzag length of 8cm diameter green hornbeam and, using a knife, took off enough bark and wood to give it a flat top and bottom with a thickness of around 3.5cm.
From there I squared off the remaining barked edges so as to give a piece even in width and depth along the length.
After this it was simply a case of bevelling the edges down so as to leave the sides with a smaller surface (for greater impact pressure per square inch and ergo greater damage potential.
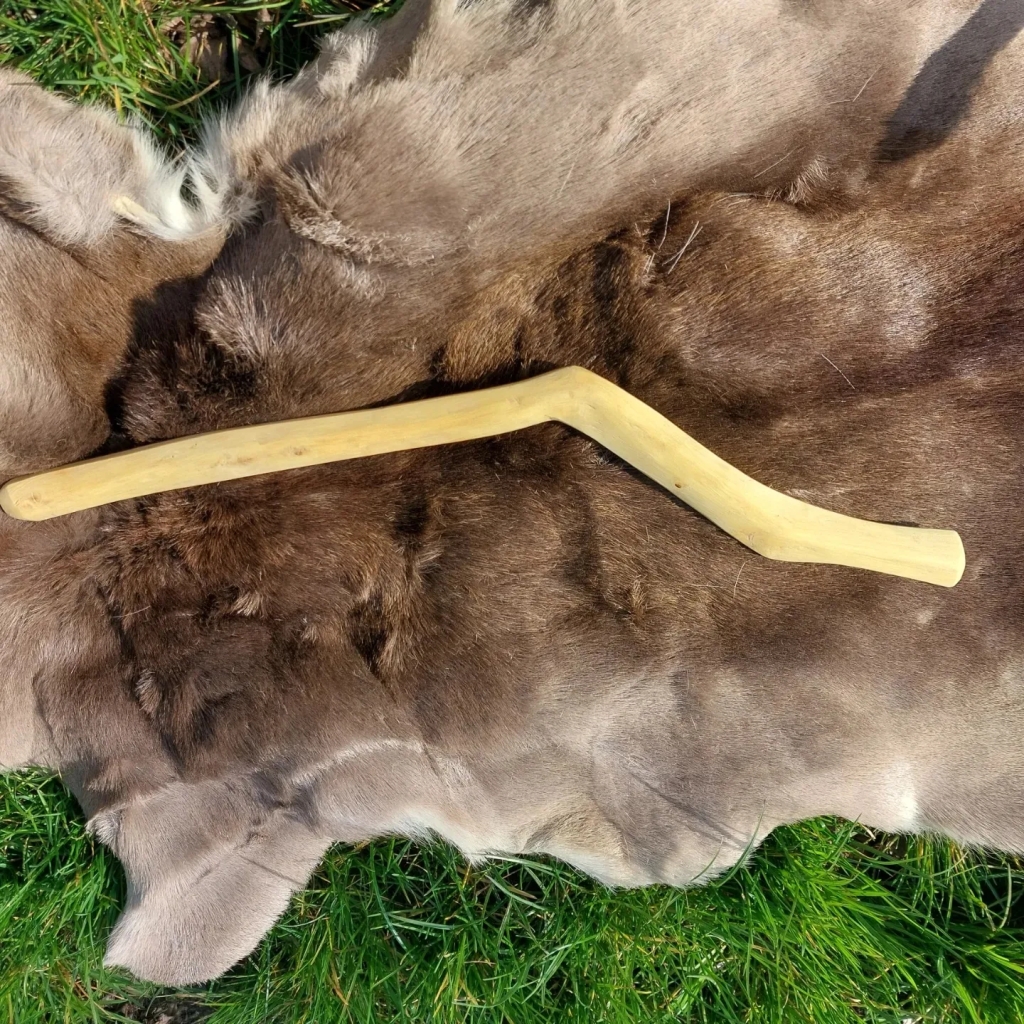
As I worked I noted the likely impact spots – the ends and the ‘corners’of the zigzag S shape. These I left a touch thicker and sharper – if I ever use this in a real life hunting event I want to give as quick an end as possible. Although I don’t plan on using it in anything living, other than in a survival situation.
I also wanted to moderate how the tool flew when thrown. With one end shorter, but almost equal in weight, it will whip round rather than curl, meaning it will keep a straighter flight path for longer.
Added to this I decided that it would be thrown with the right hand holding the longer end with the elbow of the stick bending towards my shoulder. This would give a directional bias that would see the stick curve towards the left in flight. So, leaving the outside (right) of the middle section thicker, and therefore heavier, meant that the stick would hold straighter for a right handed thrower.

A dry, a sand and several coats of oil and the stick was ready to go.
Most historical references suggest a stick as thick as your wrist and between 45cm and 60cm long to be ideal, but this one comes out heavy because of the choice of wood and so it’s dimensions are a more practical size and a little thinner than anecdotally recommended.
After a few trial throws I set two friends loose with it too. It flew straight and landed on the designed points (ends and corners) for all of us, meaning my grasp of basic physics is obviously pretty good!
I also took it back to the parent tree and.spoke with it about what I had done with it’s wood. It seemed pretty happy with the result, as am I.

Keep an eye out for future sticky adventures if you’ve enjoyed this blog.
To keep up to date with my crafting and more follow me on Instagram.
